When I first started training clients, plyometrics was this mysterious thing reserved for elite athletes. I remember watching footballers doing box jumps and thinking, "That's not for my everyday clients." How wrong I was. Today, plyometric training is one of the most powerful tools in my arsenal for developing explosive power, improving athletic performance, and even enhancing daily functional movement.
Just last month, I had a 52-year-old client, who struggled to get up from low chairs without using her hands. After eight weeks of progressive plyometric training, she's now bounding up stairs two at a time. That's the magic of training your stretch-shortening cycle properly.
The Science Behind Explosive Power Development
The stretch-shortening cycle (SSC) is your body's natural spring mechanism. Think of it like a rubber band – stretch it quickly, and it snaps back with tremendous force. Your muscles work the same way through three distinct phases:
Eccentric Phase (The Stretch): Your muscle lengthens under tension, storing elastic energy like a coiled spring. Picture a basketball player crouching before a jump – the quadriceps and glutes are loading up with potential energy.
Amortization Phase (The Transition): This is the brief moment between lengthening and shortening. The quicker this phase, the more explosive power you'll generate. Elite athletes can transition in under 0.15 seconds.
Concentric Phase (The Release): Your muscle contracts explosively, releasing all that stored energy plus additional neural drive. This is where the magic happens – you can generate up to 30% more force than a standard concentric contraction alone.

The key player here is your Golgi tendon organ and muscle spindles. When you rapidly stretch a muscle, these sensors trigger a reflexive contraction that's faster and more powerful than voluntary muscle activation. It's like having a turbo button for your muscles that only activates under specific conditions.
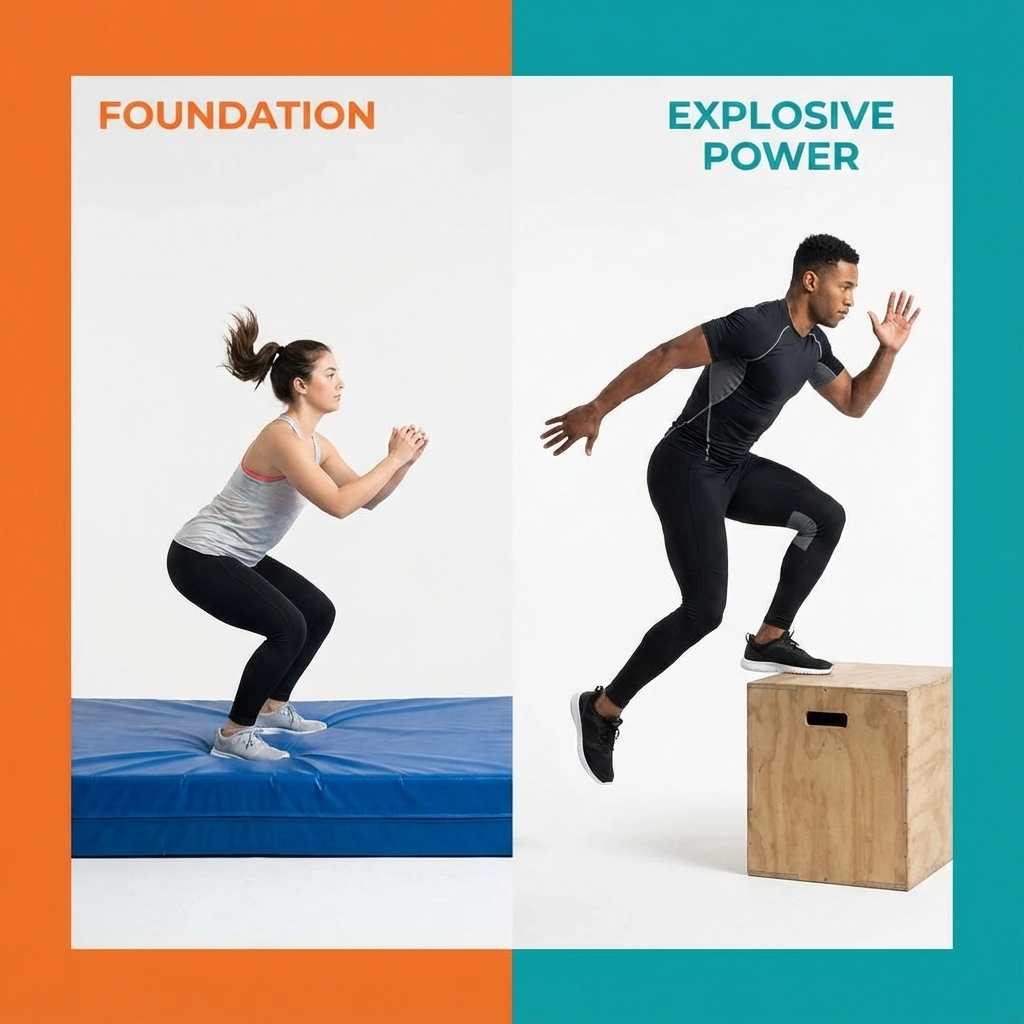
Progressive Plyometric Development: Building Your Foundation
Here's where most people go wrong – they jump straight into advanced movements without building the necessary foundation. I've seen too many clients attempt depth jumps on day one, only to end up with sore knees and bruised egos.
Phase 1: Foundation Building (Weeks 1-3)
Start with low-intensity, ground-based movements that teach proper landing mechanics:
- Squat jumps: 3 sets of 5-8 reps
- Standing broad jumps: 3 sets of 5 reps
- Lateral bounds: 3 sets of 6 reps each direction
- Skipping variations: 30 seconds, 3 sets
Focus on soft landings and controlled movements. The goal isn't height or distance – it's quality.
Phase 2: Skill Development (Weeks 4-6)
Introduce directional changes and slightly higher intensities:
- Box jumps (12-18 inches): 3 sets of 5 reps
- Split jump lunges: 3 sets of 6 each leg
- Single-leg hops: 3 sets of 5 each leg
- Plyo push-ups (knees): 3 sets of 5 reps
Phase 3: Power Development (Weeks 7+)
Now we're talking serious explosive power:
- Depth jumps (18-24 inches): 3 sets of 3-5 reps
- Reactive hurdle hops: 3 sets of 5 obstacles
- Medicine ball slams: 3 sets of 6 reps
- Clap push-ups: 3 sets of 5 reps
Remember, plyometrics are about quality, not quantity. More isn't better – better is better.
Landing Mechanics: Your Injury Prevention Foundation
I can't stress this enough – proper landing technique is non-negotiable. I've worked with too many athletes who developed knee problems because they treated landings as an afterthought.
The Perfect Landing Checklist:
- Forefoot contact first: Land on the balls of your feet, not your heels
- Knee tracking: Knees should track in line with your toes, never caving inward
- Hip hinge: Lead with your hips, sitting back into the landing
- Soft and controlled: Think "ninja landing" – quiet and absorbed
- Athletic position: End in a quarter-squat position, ready to move again
I teach my clients the "stick and hold" method initially. After each jump, hold the landing position for 2-3 seconds. This builds the neuromuscular control necessary for rapid landings later.
Common Landing Errors to Avoid:
- Straight-leg landings (recipe for ACL injury)
- Knee valgus (knees caving inward)
- Forward lean with excessive trunk flexion
- Bouncing immediately without control
One of my rugby players, James, came to me with chronic knee pain from poor landing mechanics. After six weeks focusing purely on landing quality before progressing to higher intensities, he not only eliminated his pain but improved his vertical jump by 4 inches.
Integration with Strength Training: The Perfect Partnership
Here's a controversial truth – plyometrics without adequate strength foundation is like putting racing tyres on a bicycle. You need both strength and power for optimal performance.
Strength Prerequisites:
Before progressing to advanced plyometrics, ensure you can:
- Back squat 1.5x bodyweight
- Single-leg squat to 90 degrees
- Land from a 12-inch drop with perfect form
Integration Strategies:
Complex Training Method: Pair heavy strength exercises with explosive movements:
- Heavy squats (85-95% 1RM) followed immediately by squat jumps
- Deadlifts followed by broad jumps
- Bench press followed by medicine ball throws
Contrast Training: Alternate between heavy and light loads within the same session:
- Set 1: Heavy squats (5 reps at 85%)
- Set 2: Bodyweight squat jumps (8 reps)
- Repeat for 4-6 rounds

Weekly Periodisation Example:
- Monday: Heavy strength emphasis
- Wednesday: Plyometric power focus
- Friday: Complex training combination
The key is allowing adequate recovery between sessions. Plyometrics are neurally demanding – train them fresh, never fatigued.
Busting Common Plyometric Myths
Myth 1: "Plyometrics are only for young athletes" Absolute rubbish. I've successfully trained clients from teenagers to septuagenarians. The key is appropriate progression and exercise selection. My 67-year-old client, Margaret, performs modified squat jumps and has dramatically improved her balance and bone density.
Myth 2: "More volume equals better results" Wrong again. Plyometrics are about neural efficiency, not muscular endurance. Quality trumps quantity every time. I typically prescribe no more than 100-150 foot contacts per session for advanced athletes, far less for beginners.
Myth 3: "You need expensive equipment" Some of my most effective plyometric sessions use nothing but bodyweight and creativity. Stairs, park benches, and even painted lines on the ground can create powerful training stimuli.
Myth 4: "Plyometrics will make you bulky" This misconception particularly affects female clients. Plyometrics improve power-to-weight ratio and create lean, athletic physiques. They're more likely to help you fit better in your clothes than make you "bulky."
Programming Considerations for Maximum Results
Frequency: 2-3 sessions per week maximum, with at least 48 hours between intense sessions
Volume: Start with 40-60 foot contacts per session, progressing to 100-150 for advanced athletes
Intensity: Use the 24-48 hour recovery rule – if you're not recovered within this timeframe, reduce intensity
Timing: Always perform plyometrics early in your session when neurologically fresh
Surface: Progress from forgiving surfaces (grass, mats) to firmer surfaces (court floors) as competency improves

Real-World Application: Sport-Specific Considerations
Different sports require different plyometric emphases:
Football/Rugby: Multi-directional bounds, reactive agility patterns Basketball: Vertical emphasis with rapid repeat jumps Tennis: Lateral power and change-of-direction focus Running: Forward bounds and single-leg reactive strength
I tailor programmes based not just on sport, but on individual movement limitations and goals. A footballer with ankle stiffness needs different exercises than one with hip weakness.
Monitoring Progress and Avoiding Plateaus
Track your progress through:
- Vertical jump height (using jump apps or measuring tape)
- Broad jump distance
- Reactive strength index (jump height divided by ground contact time)
- Subjective recovery ratings
Progress isn't always linear. Expect some ups and downs, particularly as you increase training intensity. If progress stalls, consider:
- Reducing volume temporarily
- Changing exercise selection
- Improving strength foundation
- Addressing recovery factors
Your Explosive Power Journey Starts Now
Plyometric training isn't just about jumping higher or running faster – though you'll likely do both. It's about unlocking your body's natural explosive potential, improving your ability to generate power when it matters most, and building resilience against injury.
Whether you're a weekend warrior looking to improve your tennis game, a parent wanting to keep up with energetic children, or an athlete pursuing performance gains, plyometrics can transform how you move through the world.
Start with the foundation phase exercises I've outlined. Focus relentlessly on landing quality before pursuing intensity. Be patient with progression – your future explosive self will thank you for building properly.
Remember, power isn't just about what you can do in the gym – it's about what you can do in life. Every explosive step, every reactive movement, every moment you need to generate force quickly becomes easier when you've trained your stretch-shortening cycle effectively.
The spring is already in your muscles. Now let's teach it to bounce back stronger than ever.
Ready to unleash your explosive potential? Start with those foundation exercises today, and in eight weeks, you'll be amazed at what your body can accomplish.