For many, the transition from land to water isn't just a change in environment; it’s a trigger for a deep-seated survival reflex. If you have ever felt your chest tighten or your heart rate skyrocket the moment your face hits the water, you aren't alone. Swim anxiety is a common hurdle that affects everyone from absolute beginners to triathletes.
The good news is that this feeling of panic usually isn't caused by a lack of oxygen. Instead, it is almost always caused by how your body handles carbon dioxide (CO2). By mastering rhythmic breathing, you can override these biological "alarm bells" and transform your relationship with the water.
The Science of the "Gasp" Reflex
Most swimmers who feel anxious believe they aren't getting enough air. However, the physiological reality is different. When you hold your breath while swimming: a common instinct when nervous: CO2 builds up in your bloodstream. Your brain is highly sensitive to CO2 levels; when they rise, it sends an urgent signal to your diaphragm to contract, creating that "I’m drowning" or "I need to gasp" sensation.
To stop fighting the water, you must stop holding your breath. The secret to calm, efficient swimming is a continuous flow of air: exhaling steadily while your face is in the water and inhaling quickly when you turn to the side.
The Humming Drill: Your First Step to Calm
The most effective way to break the habit of breath-holding is the Humming Drill. This provides an immediate biofeedback loop that ensures you are exhaling.
- Stand in shallow water where you feel completely safe.
- Take a comfortable breath through your mouth.
- Lower your face into the water and begin to hum.
- Listen to the sound: As long as you hear the hum, you are exhaling. If the sound stops, you are holding your breath.
- Exhale for 3–5 seconds, then lift your head to inhale.
- Repeat this for 8–12 cycles until your heart rate feels steady.
Humming creates a slight back-pressure in the respiratory system, which helps keep the airways open and makes the exhale more controlled and relaxing.
Developing a Rhythmic Breathing Pattern
Once you are comfortable exhaling while stationary, you need to sync that exhale with your stroke. This is where rhythmic breathing comes into play. The "Bubble-Bubble-Breathe" drill is the gold standard for building this habit.
The Bubble-Bubble-Breathe Drill
Perform this drill while swimming an easy freestyle for 25 yards.
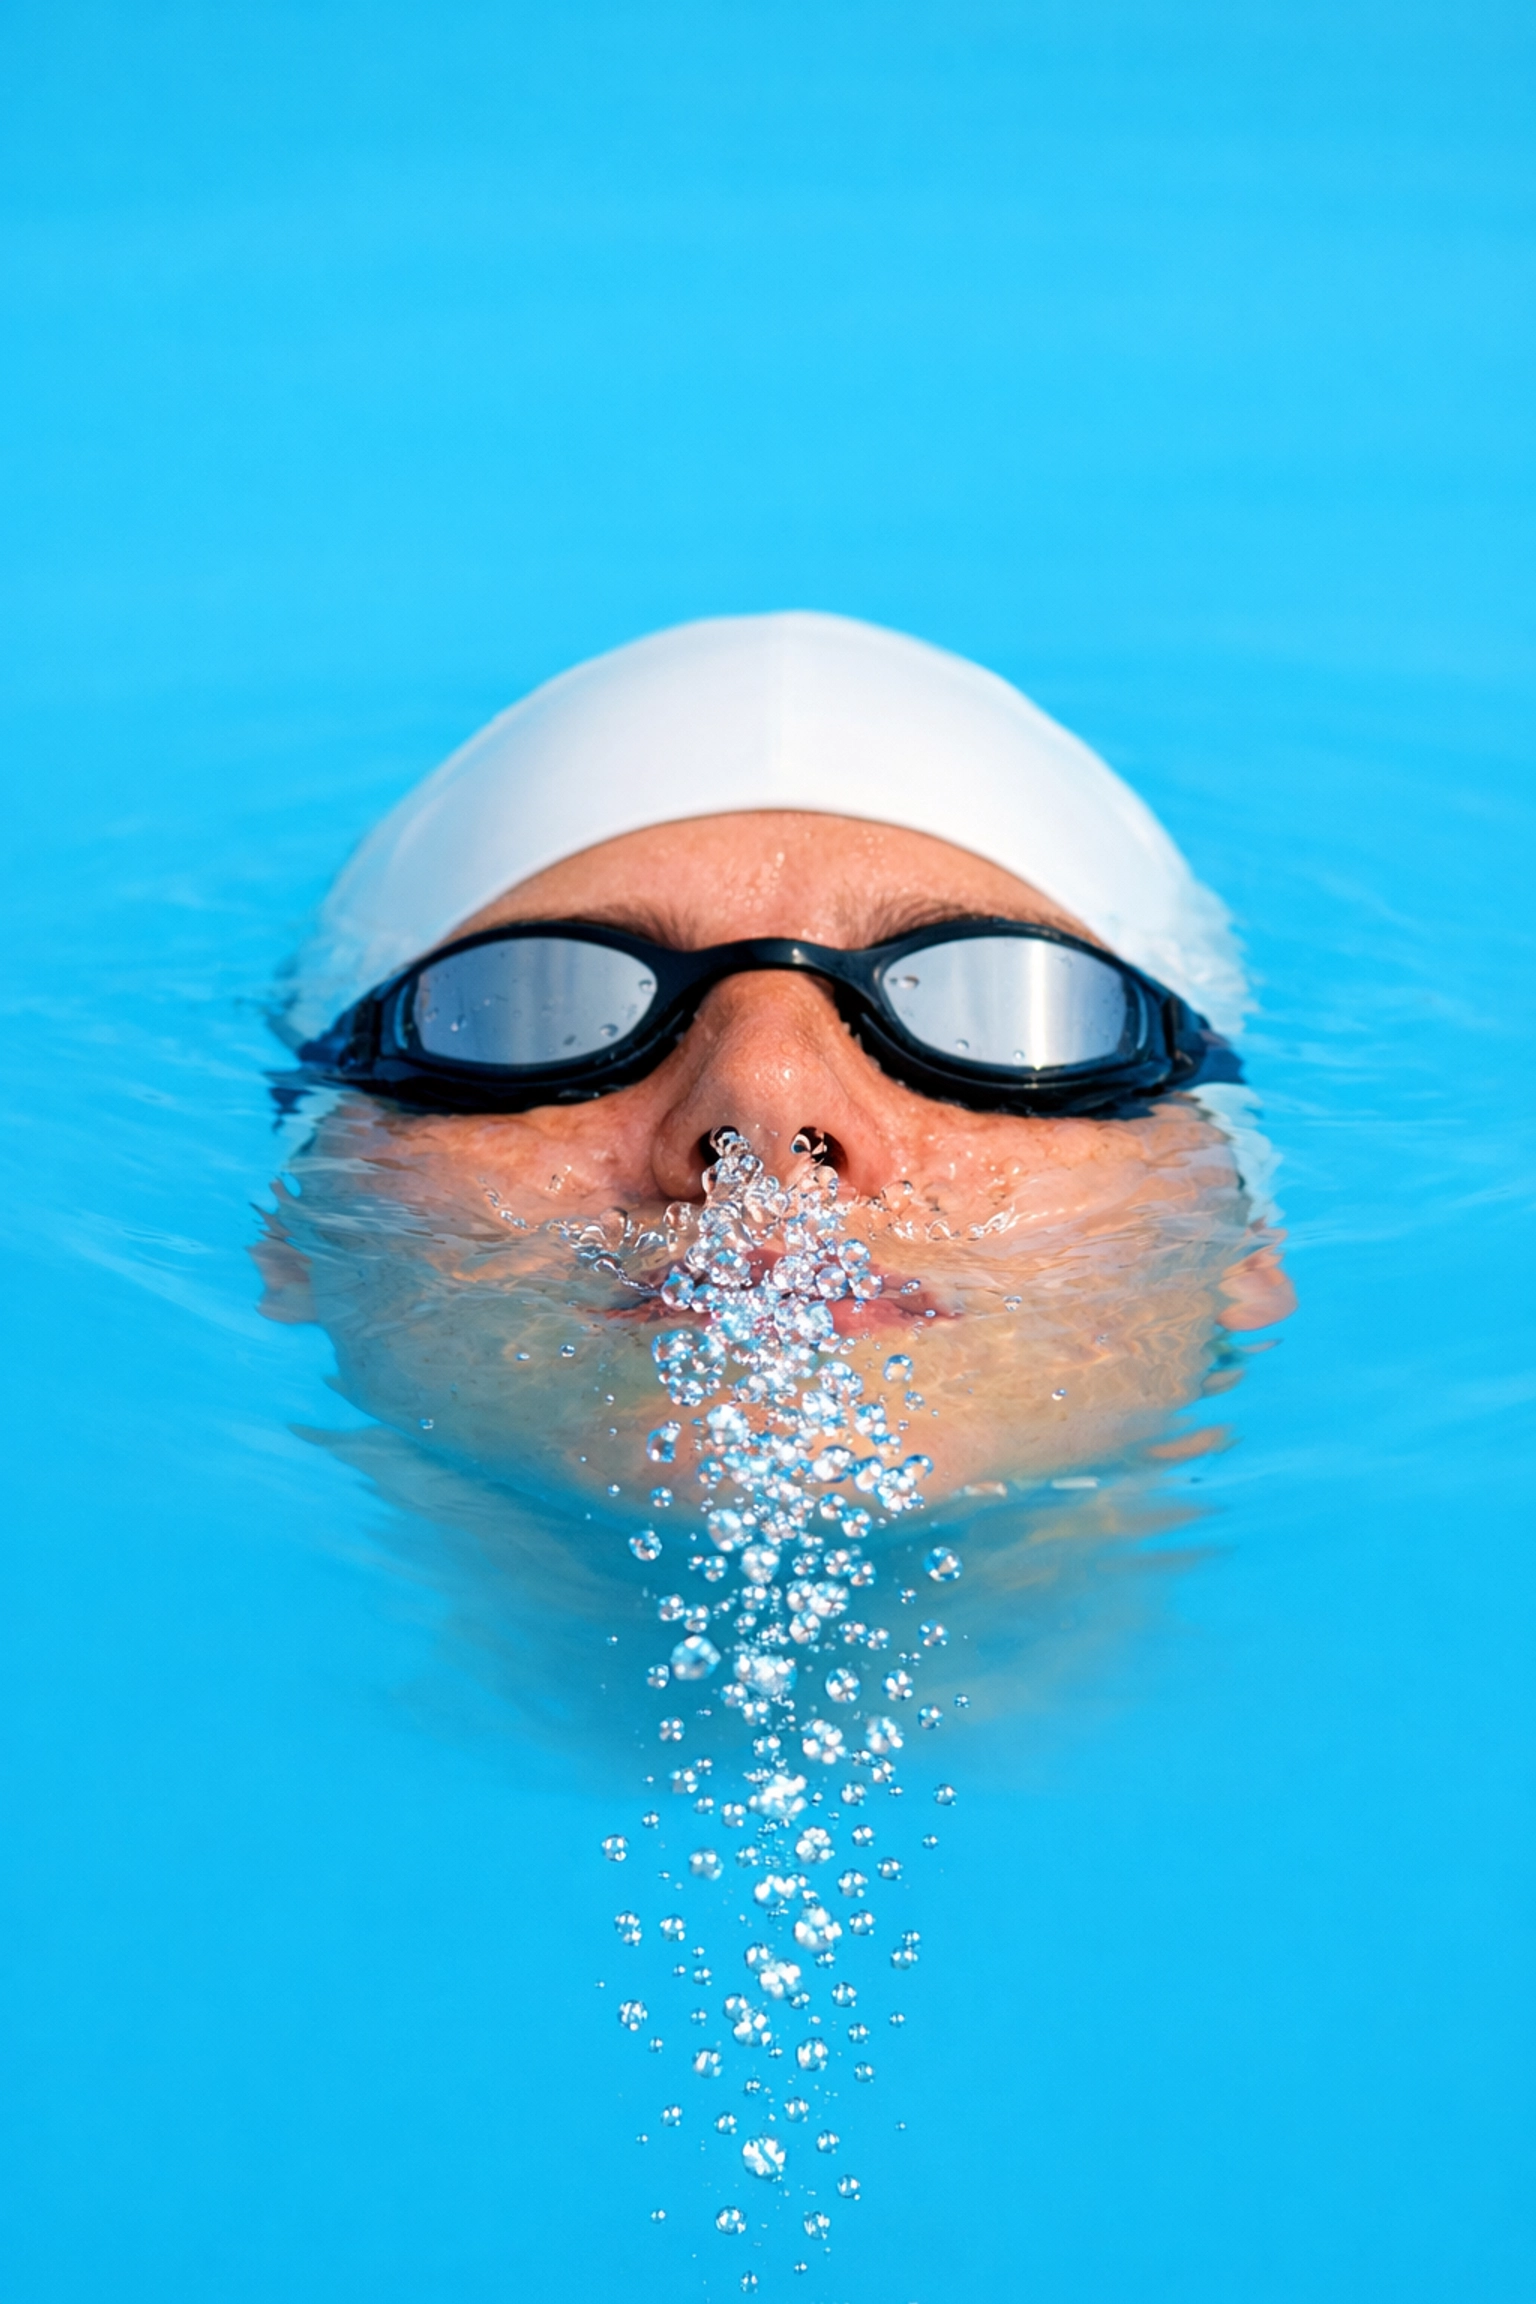
- Phase 1 (The Face-Down Phase): As soon as your face enters the water, start blowing a steady stream of bubbles through your nose or mouth. Do not wait.
- Phase 2 (The Rotation): As your body rotates to the side for a breath, ensure you have emptied about 70-80% of the air in your lungs.
- Phase 3 (The Inhale): Take a quick, relaxed breath through your mouth. Keep one goggle submerged in the water to maintain a neutral head position.
- Phase 4 (The Return): Rotate your face back into the water and immediately begin blowing bubbles again.
The goal is to eliminate the "dead space" between exhaling and inhaling. Constant movement of air keeps CO2 levels low and keeps the panic response at bay. If you find your mind wandering or anxiety creeping back, visit our Focus Collection for supplements designed to support mental clarity during training.
The 3-3-3 Adaptability Drill
Anxiety often stems from the fear of the unknown: what happens if a wave hits you or another swimmer bumps you? The 3-3-3 drill builds the CO2 tolerance and confidence needed to handle these interruptions.
- Step 1: Swim 3 strokes, breathing only to the right.
- Step 2: Swim 3 strokes, breathing only to the left (bilateral breathing).
- Step 3: Swim 3 strokes without taking a breath.
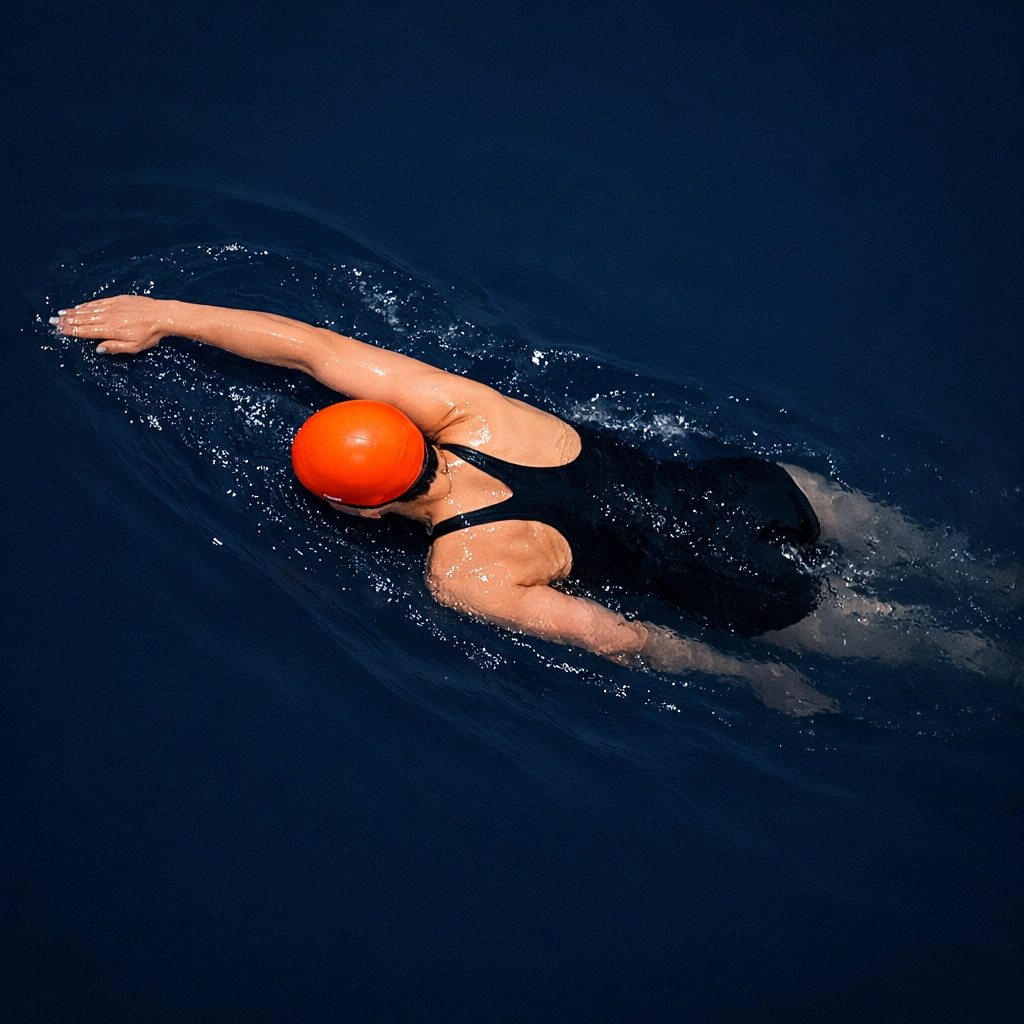
By intentionally delaying a breath for just three strokes, you teach your brain that a brief rise in CO2 is not an emergency. This adaptability is crucial for open-water swimming and crowded pool lanes.
Technique Foundations: Rotate, Don’t Lift
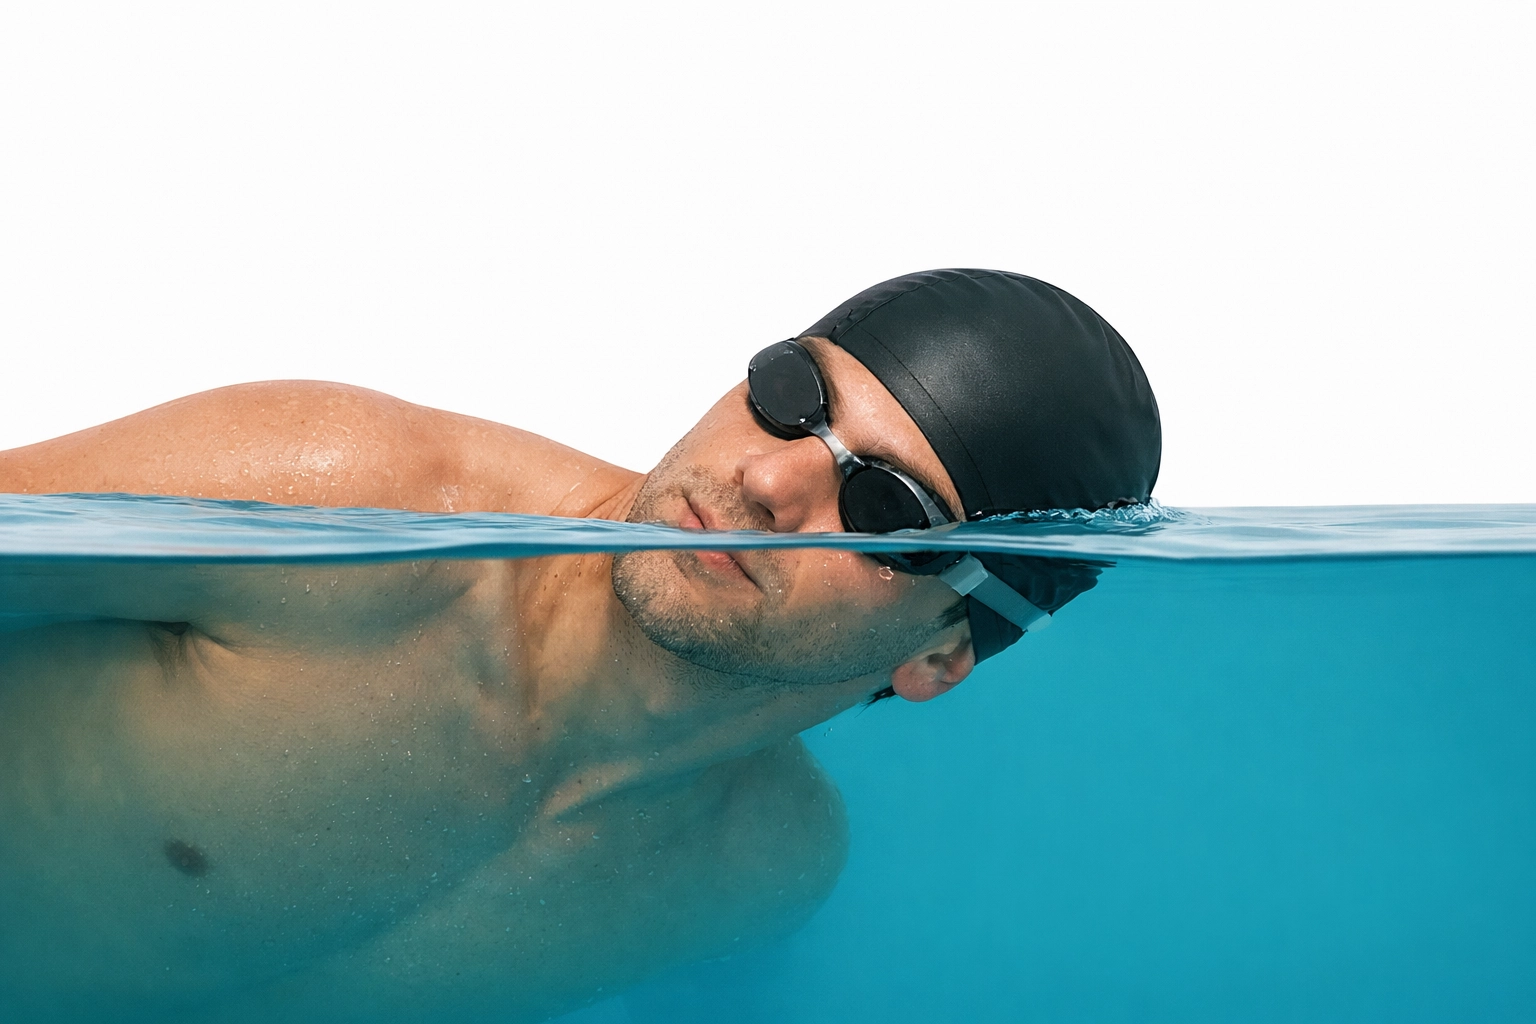
A major physical trigger for swim anxiety is poor head position. When a swimmer lifts their head straight up to breathe, several things happen:
- The hips and legs sink, creating massive drag.
- The swimmer has to "fight" the water to stay buoyant, leading to rapid fatigue.
- The neck muscles tense up, which is a signal to the body that it is in a stressful situation.
To stay calm, you must rotate your head along the axis of your spine rather than lifting it. Imagine a skewer running from the top of your head to your toes. You rotate around that skewer. Keeping one eye (one goggle) in the water while you breathe ensures your body stays level and your energy is spent moving forward, not staying afloat.
For those struggling with muscle tension or joint stiffness that prevents smooth rotation, our Joint Health Collection offers targeted support to keep your stroke fluid and pain-free.
Pre-Swim Mental Preparation
Anxiety often starts in the locker room, not the pool. Managing your nervous system before you even touch the water is essential.
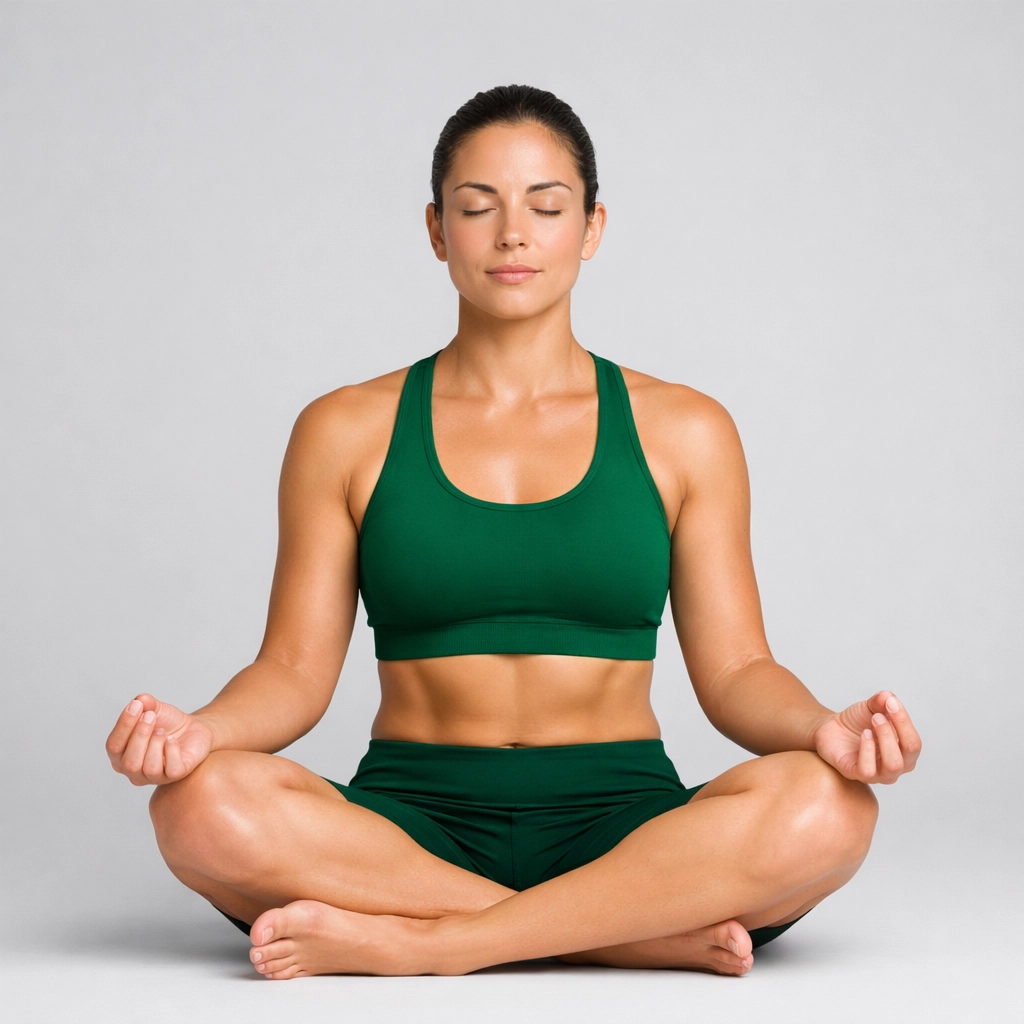
Box Breathing (4-4-4-4)
Before getting into the pool, find a quiet spot and use this technique to lower your cortisol levels:
- Inhale through your nose for 4 seconds.
- Hold that breath for 4 seconds.
- Exhale through your mouth for 4 seconds.
- Hold empty for 4 seconds.
Repeat this for 4–5 rounds. This technique physically forces your body out of the "fight or flight" mode and into the "rest and digest" parasympathetic state. If you find that pre-workout jitters are a consistent problem, consider exploring our Stress Management options to help maintain a calm baseline.
Dryland Training: Strengthening the Diaphragm
You don’t have to be in the water to improve your swimming breath. Diaphragmatic breathing (belly breathing) helps you use the full capacity of your lungs, reducing the shallow, chest-based breathing associated with panic.
Daily Practice Routine (4 Minutes):
- Minutes 1-2: Lie on your back with knees bent. Place one hand on your chest and one on your belly. Inhale so that only the hand on your belly rises.
- Minute 3: Perform the same breathing while sitting tall in a chair.
- Minute 4: Perform it while standing.
This trains your body to "drop" the breath deep into the lungs. Efficient oxygen transfer is supported by high-quality nutrients; ensuring your levels of Vitamins and Minerals are optimized will help your respiratory muscles function at their peak.
Summary Checklist for a Calm Swim
To recap, if you find yourself fighting the water, use this checklist to regain control:
- Exhale Immediately: Are you blowing bubbles the moment your face hits the water?
- Hum: If you feel panic rising, start humming to force a steady exhale.
- Check Your Head: Are you rotating to the side, or are you lifting your chin? Keep one goggle in.
- Slow Down: Anxiety often makes us move faster. Intentionally slow your stroke rate to match your comfortable breathing rhythm.
- Supplement Wisely: Use Magnesium to help muscles relax and prevent cramping, which can often trigger a panic response in deep water.
Swimming should be a rhythmic, meditative experience. By focusing on the exhale and mastering the physics of your breath, you move from a state of survival to a state of performance. Stop fighting the water: start flowing with it.
For more tips on improving your athletic performance and recovery, check out our guide on Compound vs. Isolation Exercises to build the dryland strength necessary for a powerful stroke.