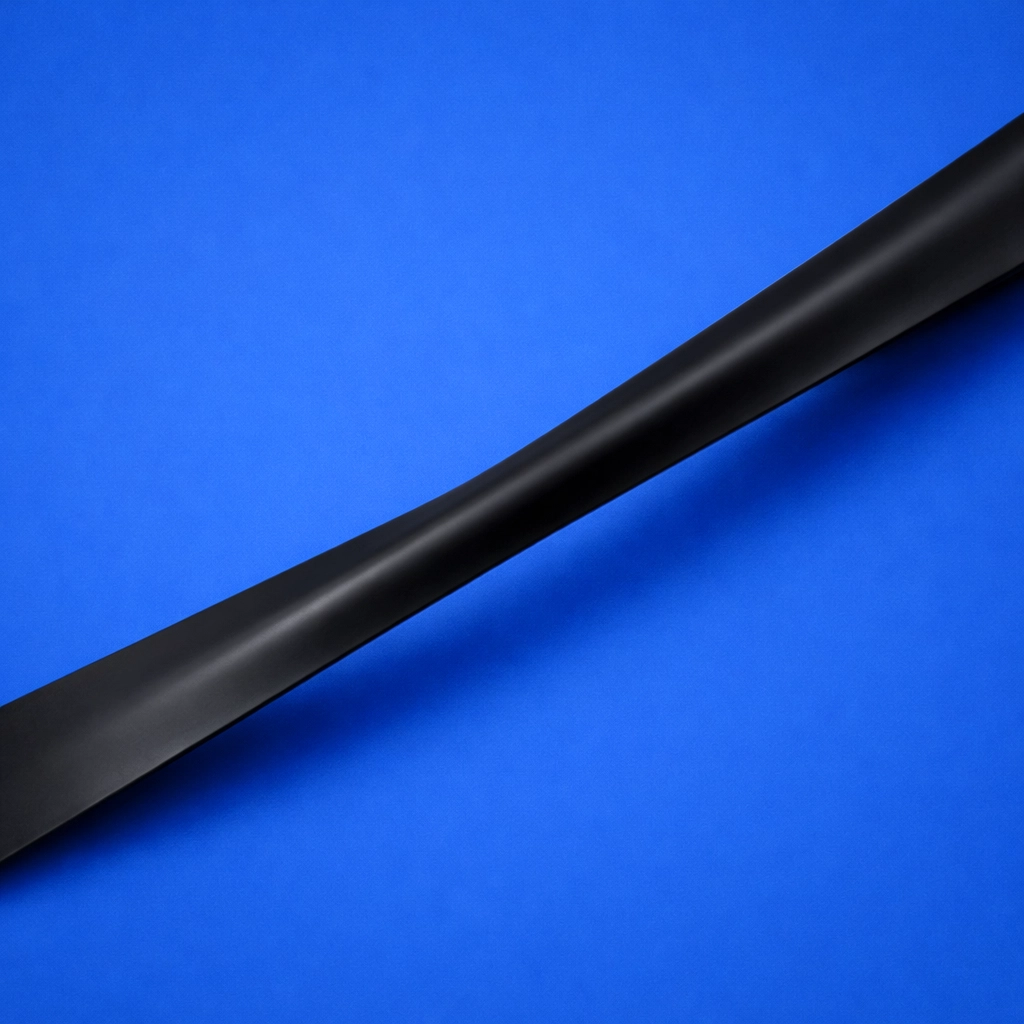
For decades, the image of "real" strength training was inseparable from the sound of clanging iron and the sight of massive power racks. However, as we move through 2026, the fitness landscape has shifted toward efficiency, portability, and joint longevity. Resistance bands, once relegated to physical therapy clinics or warm-up routines, have emerged as a primary tool for building significant muscle mass and explosive power.
The misconception that elastic resistance is "easier" than free weights is rapidly fading. In fact, research consistently shows that when used correctly, resistance bands can provide a stimulus for muscle growth (hypertrophy) and strength gains that rival traditional heavy lifting. At Fitness Health, we have seen a massive surge in athletes transitioning to band-based protocols not just for convenience, but for the unique physiological benefits they offer.
This guide breaks down the science of why bands work and details five specific exercises that will challenge even the most seasoned weightlifters.
The Science: Why Bands Can Rival Iron
To understand how a piece of latex can build as much muscle as a 20kg dumbbell, we have to look at Variable Linear Resistance.
When you lift a dumbbell, the resistance remains constant. However, due to the physics of leverage and your body’s mechanical advantages, the exercise actually gets "easier" at certain points in the range of motion. For example, at the top of a bicep curl, the load on the muscle actually decreases.
Resistance bands work in the opposite way. The further you stretch them, the more resistance they provide. This means your muscles are forced to work harder at the end of the movement: the peak contraction: where many people usually "rest" during traditional lifting. This constant tension, combined with the increasing load, recruits more motor units and creates significant metabolic stress, two primary drivers of muscle growth.
1. The Banded Front Squat
The squat is the king of lower-body exercises, usually requiring a heavy barbell and a squat rack. You can replicate this high-intensity load using a heavy-duty long loop band.
The Setup
Stand on a heavy-resistance loop band with your feet shoulder-width apart. Pull the other end of the loop up and rest it across the front of your shoulders, holding it in place with your hands (similar to a barbell front squat position).
The Movement
- Drive your hips back and down, keeping your chest upright and your core tight.
- Descend until your thighs are at least parallel to the floor.
- Drive through your heels to return to a standing position.
- As you reach the top of the movement, the band reaches maximum stretch, making the "lockout" significantly harder than a traditional squat.
The "Heavy Lift" Factor
Because the resistance increases as you stand up, your nervous system must "fire" harder throughout the entire movement. This builds explosive power in the quads and glutes that translates directly to improved athletic performance. For those looking to dive deeper into how this compares to other movements, check out our guide on compound vs isolation exercises.
2. Band-Resisted Push-Ups
Standard push-ups are great for endurance, but they eventually hit a ceiling for strength building. By adding a high-tension band, you turn a bodyweight staple into a heavy-duty chest press.
The Setup
Wrap a resistance band across your upper back, tucking the ends under the palms of your hands. Get into a standard plank position, ensuring the band is secure and has tension even at the bottom of the movement.
The Movement
- Lower your chest toward the floor, maintaining a rigid line from head to heels.
- Explode upward.
- The resistance will feel manageable at the bottom but will become incredibly heavy as your arms straighten.
The "Heavy Lift" Factor
This exercise mimics the "accommodating resistance" used by professional powerlifters. It forces your triceps and pectorals to work significantly harder during the lockout phase. Using durable bands from our strength fitness collection ensures the band stays in place without rolling up your back.
3. The Banded Deadlift
Deadlifts are essential for the posterior chain: the hamstrings, glutes, and lower back. While you might think you need a 100kg barbell to feel the burn, a layered band approach can provide massive resistance.
The Setup
Fold a long loop band in half (or use multiple bands for more weight). Step on the center of the bands with both feet. Hinge at the hips to grab the "loops" at either end. There should be significant tension even when you are bent over.
The Movement
- Keep your back flat and your gaze slightly forward.
- Drive your hips forward to stand up straight.
- Squeeze your glutes hard at the top of the movement.
- Control the descent back to the starting position.
The "Heavy Lift" Factor
Unlike a barbell deadlift where the weight can sometimes "crash" at the bottom, the band provides a smooth but relentless pull. This forces your core to stabilize the spine throughout the entire arc of the movement, reducing the risk of the "rounded back" injuries often seen in heavy barbell lifting.
4. Banded Bent-Over Rows
For back thickness and pulling strength, the row is unsurpassed. Bands allow you to maintain tension on the lats in a way that dumbbells cannot.
The Setup
Step on the center of a band and grab both ends. Hinge forward at the hips until your torso is nearly parallel to the floor. Your arms should be extended toward the floor with the band already under tension.
The Movement
- Pull your elbows back toward your hips, squeezing your shoulder blades together.
- Hold the peak contraction for one second.
- Slowly lower your hands back down, resisting the "snap back" of the band.
The "Heavy Lift" Factor
Traditional weights get "lighter" at the top of a row because of the angle of the arm. The band gets "heavier." This forces a much stronger contraction in the rhomboids and latissimus dorsi, leading to better posture and back development.

5. Overhead Press (The Shoulder Builder)
Pressing heavy weights overhead is the gold standard for shoulder strength, but it can be taxing on the rotator cuffs. Bands provide a safer, high-intensity alternative.
The Setup
Stand on one end of a loop band. Grasp the other end and bring it to shoulder height (the "front rack" position).
The Movement
- Press the band directly overhead until your arms are fully locked out.
- Lower slowly back to shoulder height.
- Ensure your core is engaged to prevent your lower back from arching.
The "Heavy Lift" Factor
The stability required to press a band overhead is much higher than a machine or even dumbbells. The band wants to pull your hands inward or outward; resisting this lateral force activates the smaller stabilizing muscles of the shoulder, creating a more "bulletproof" joint.
How to Maximize Intensity for Muscle Growth
If you find that five reps feel too easy, don't just do more reps. To rival heavy lifting, you must increase the intensity:
- Layering: Don't be afraid to use two or even three bands at once. This is the "progressive overload" of the band world.
- Tempo Training: Spend 3–4 seconds on the "eccentric" (lowering) phase of every move. This creates more micro-tears in the muscle, leading to growth.
- Iso-Holds: Hold the point of maximum tension (the top of the squat or row) for 2–5 seconds on every rep.
- Reduced Rest: Keep your rest periods between 30 and 60 seconds to maximize metabolic stress.
Safety and Maintenance
To ensure your workout remains safe, always inspect your bands before use. Look for small nicks, "white" stress marks, or thinning areas. Because bands are under extreme tension, a snap can cause injury. We recommend using professional-grade, multi-layered latex bands like those found at Fitness Health to ensure durability during high-intensity sessions.
For any questions regarding equipment care or choosing the right resistance level, feel free to visit our FAQs or contact us directly.
Summary Checklist for Band Success
- Prioritize Form: Since the resistance is variable, it’s easy to use momentum. Stay controlled.
- Anchor Securely: Ensure your feet are firmly planted on the band or your door anchor is locked.
- Progressive Overload: Once a band feels "light," move up to the next color or add a second band.
- Full Range of Motion: Do not "cheat" the reps; the most benefit comes from the final few inches of the stretch.
Resistance band training is no longer just a "backup" plan for when you can’t get to the gym. It is a scientifically backed, high-intensity training method that can build a physique just as impressive as one built with iron: while keeping your joints healthy for the long haul.
Ready to upgrade your home gym? Explore our full range of strength and fitness gear to start your "snap back" journey today.